Guide to Install and Setup IntelliJ IDEA for Android App Development


Guide to Install and Setup IntelliJ IDEA for Android App Development
Last Updated: 17 Feb, 2022- To begin developing Android apps, a suitable development environment must be set up to enable the use of necessary tools for app creation, ensuring smooth operations.
- An Integrated Development Environment (IDE) is a comprehensive application suite offering services like source code editing, file building, and debugging.
- IntelliJ IDEA is a popular IDE utilized for Android app development.
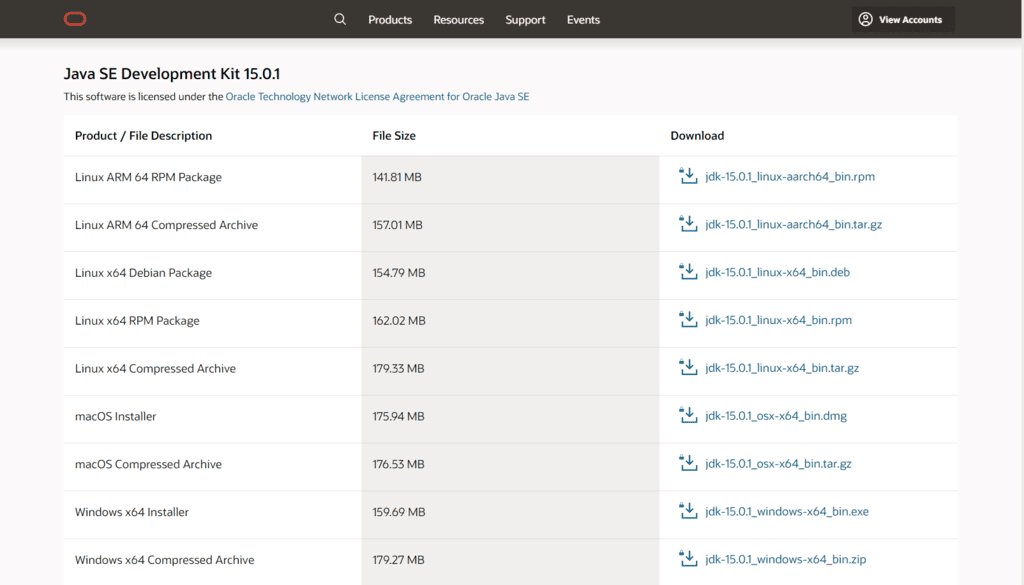
Step 1: Download and Install Oracle Java Development Kit (JDK)
- JDK installation is essential for coding Android app source files in Java. It consists of libraries and a compiler to run Java code on the system.
- Ensure you download the JDK file compatible with your system from the provided link. Differentiate between JDK and JRE as they serve distinct purposes.
Step 2: Download and Install Android Software Development Kit (SDK)
- The Android SDK comprises essential software development tools and libraries for Android app development.
- SDK tools are crucial for coding and testing app files, ensuring a seamless development process.
- If using IDEs other than Android Studio, the Android SDK packages need to be downloaded separately.
Command line tools only
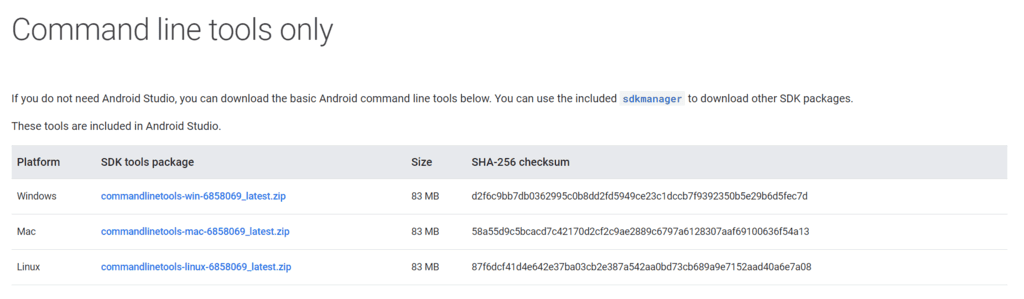
Following links can also be used to download the same:
- Windows: Download for Windows
- MacOSX: Download for MacOSX
- Linux: Download for Linux
Downloading and Setting up SDK Tools
After downloading the SDK tools zip file, extract its contents to the directory C:\Android\android-sdk. Then, navigate to C:\Android\android-sdk\tools\bin and open a command prompt in that directory. In Windows, you can do this by clearing the top file explorer bar and typing "cmd" then pressing Enter.
To download the Android package, run the following command in the command prompt:
sdkmanager "platforms;android-25"
To update everything, execute the following command:
sdkmanager --update
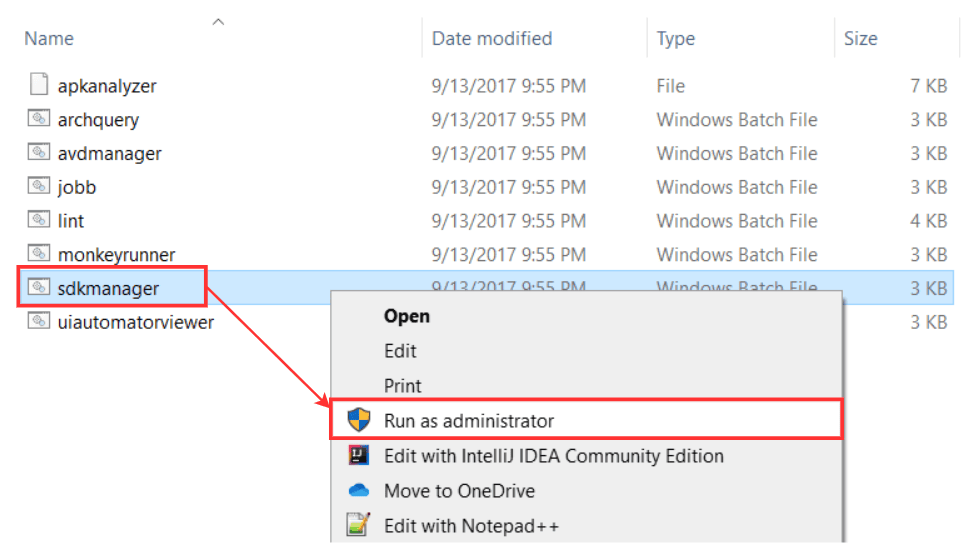
Step 3: Opening SDK Manager
Once the Android SDK package files are updated, go to C:\Android\android-sdk\tools\bin and run the SDK Manager with administrator privileges. Let the SDK Manager fetch and download any required files. If prompted, accept the terms and conditions.
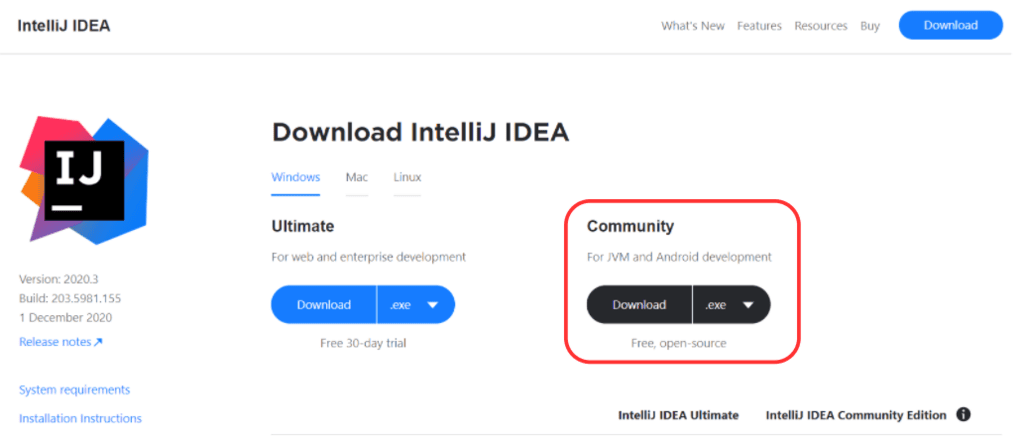
Step 4: Download and Install IntelliJ IDEA
- The IntelliJ IDEA Community Edition is available for free and can be obtained from this link. Download the .exe file and install it on your computer.
Step 5: Configure the IntelliJ IDEA
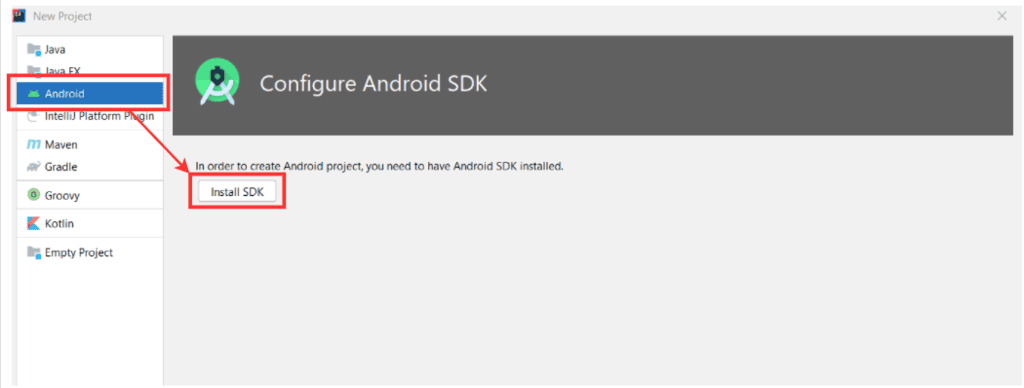
- Create a new project in IntelliJ IDEA by selecting File => New => Project. Choose Android from the left panel and click on the Install SDK button.
- In the subsequent dialog box, specify the path of the SDK installed in your system (navigate through the file explorer and select C:\\Android\\android-sdk). Install both components - API and Android SDK, and proceed by clicking Next.
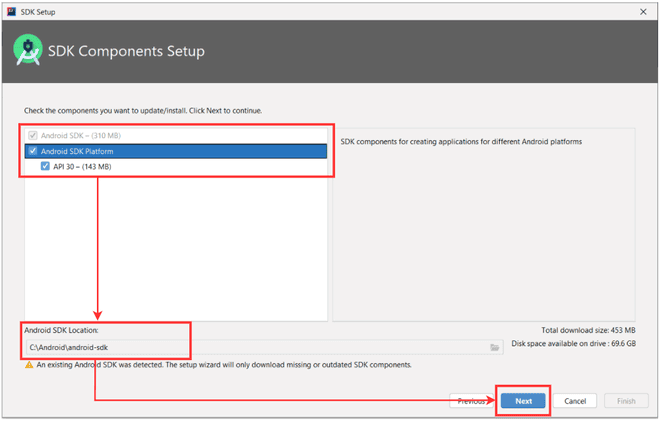
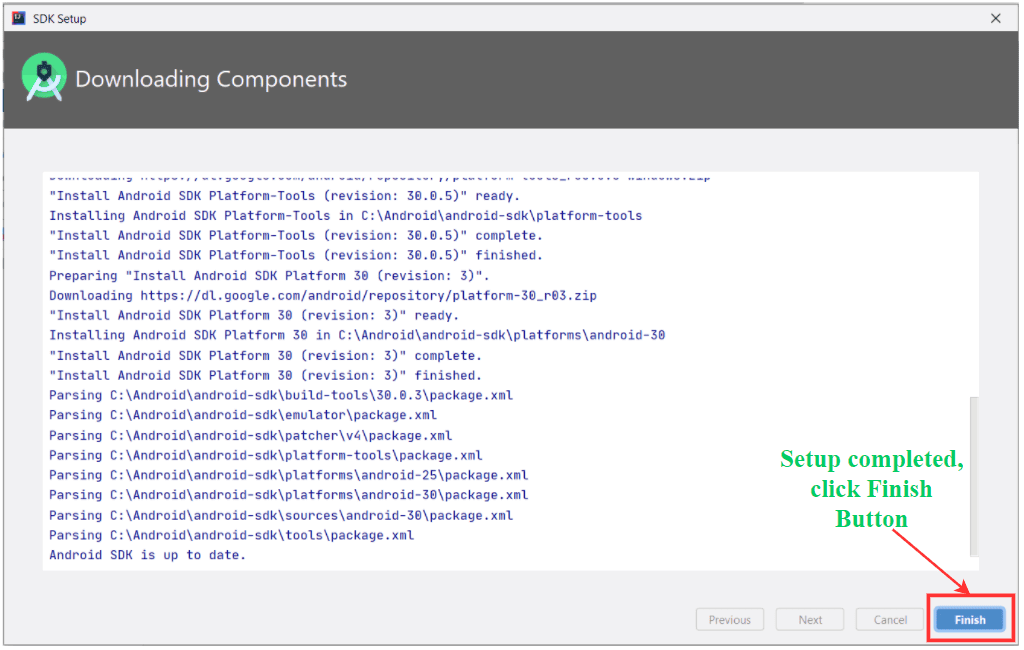
Review the SDK folder path, download size, and proceed by clicking Next. Wait for the setup to download all necessary files, then click Finish. A confirmation screen will appear stating "Android SDK is installed successfully"; proceed by clicking Next.

Step 6: Create the First Application
- Once all configurations are in place, IntelliJ IDEA is ready for developing Android applications. Choose the desired activity template (for instance, an Empty Activity for a simple Hello World application).

Provide a name for your application, select the project location from the file explorer, choose the desired programming language, and specify the minimum SDK version. Click Finish to proceed. IntelliJ IDEA will take some time to load the gradle files for your application. Once completed, the source code will be displayed on the screen.

Step 7: Configure Virtual Device (Emulator)
- Emulators: Emulators allow running Android applications on a computer without needing a physical Android device. Developers can test applications using these virtual devices.
- AVD Manager: The AVD Manager is where you set up and manage Android Virtual Devices for testing and development purposes.
- Create Virtual Device: This option in the AVD Manager allows you to create a new virtual Android device for testing.

Setting Up the Emulator
- When creating a virtual device, choose a device from the list. Devices with a Play Store icon have Google Play Store pre-installed.
- Play store column: Indicates devices with pre-installed Google Play Store.
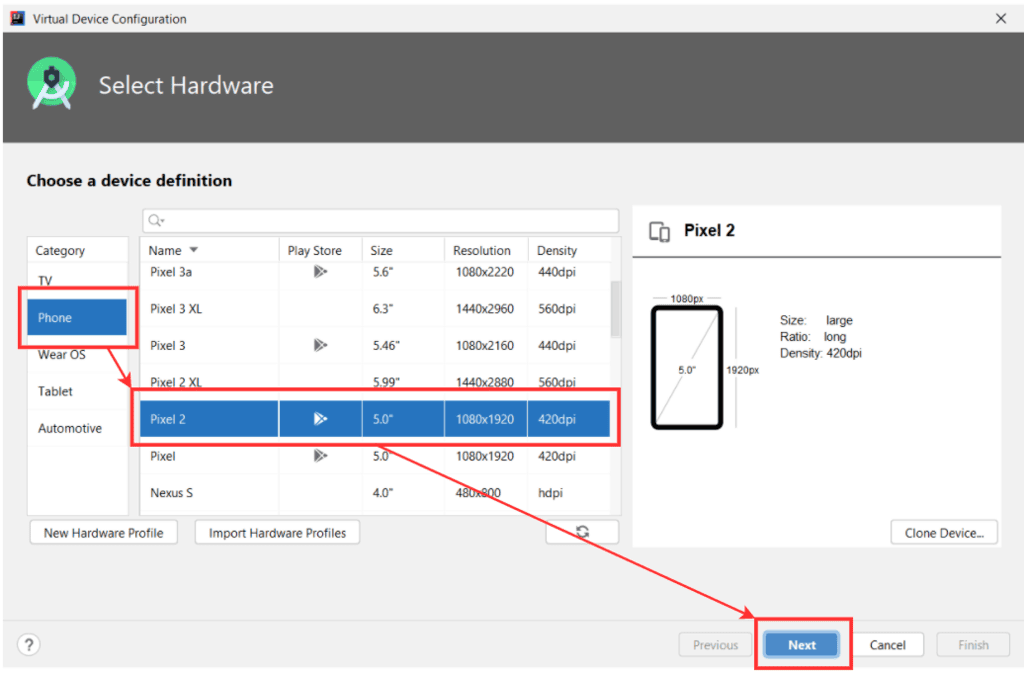
- Download the desired OS version for the emulator. After downloading, select the OS version and proceed.
- OS version: Every emulator requires an operating system version to function properly.

- Assign a name to the Android Virtual Device and keep other settings default before finishing the setup.

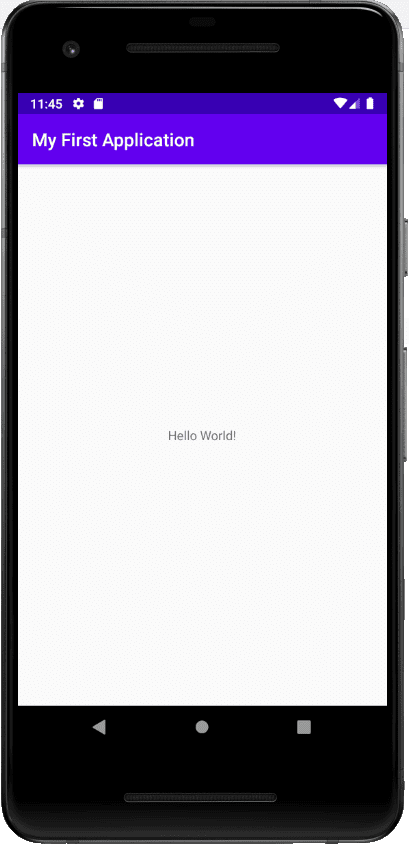
- Launch the emulator by clicking the Run button in the AVD Manager. This will start the selected virtual device.
- Run button: Initiates the emulator to run the selected virtual device.
Please Login to comment...
- Login
- Like
