Photographing at Night | Digital Photography - Class 8 PDF Download
Introduction
Taking photos at night can be a challenge because your camera doesn't have as much light to work with. Common problems include photos that are blurry (due to a slow shutter speed), grainy (due to a higher ISO number), or dark (if your camera can't compensate for the low light). If your camera has a built-in flash, it can add a lot more light but can also be harsh and unflattering.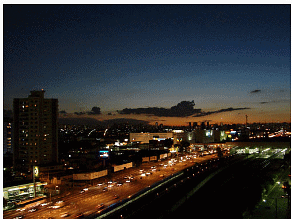
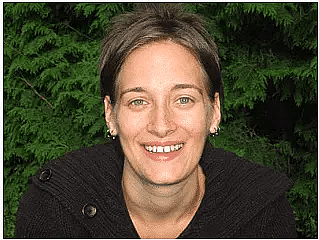
In the photo below, the camera tried to reduce blurriness by increasing the ISO number. However, this added a lot of image noise (or graininess). Keep in mind that you may not be able to spot these types of problems with your camera's LCD screen; they are much more noticeable when photos are viewed at full size.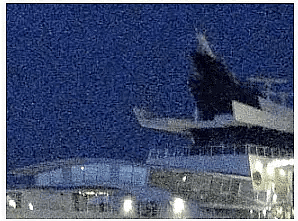
Depending on what kind of camera you have, you may find that it takes pretty good photos even in low-light situations. However, if you notice that the photos are coming out blurry or dark, you can try some of the tips below to get better results.
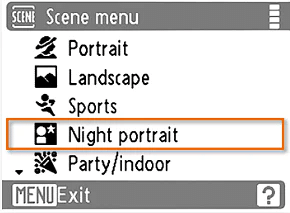
- Use your camera's Night Portrait scene mode: Using this scene mode may help your camera deal with low light.

- Hold the camera as still as possible, or use a tripod: In low light, your camera will use a slower shutter speed, which means your photos may come out blurry. Keeping the camera still will help to keep your photos sharp.
- Use the flash if necessary: Your camera's flash may not be the most flattering light, but it's often better than nothing. Many cameras also have a flash that is designed to reduce red eye, so check to see if this is an option on your camera. Also, keep in mind that the flash usually won't help if your subject is more than 15 feet away.

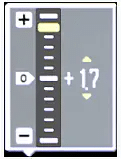
- Adjust the exposure compensation: If your photos are still coming out too dark, you can adjust the exposure compensation Exposure Compensation iconto increase the brightness. Although this will make the photos brighter, it won't actually improve the quality, so it's not really a substitute for more lighting.
 to increase the brightness. Although this will make the photos brighter, it won't actually improve the quality, so it's not really a substitute for more lighting.
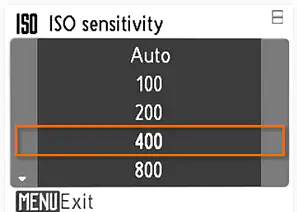
- Try increasing the ISO setting: If all else fails, you can manually raise the ISO number in your camera's settings. This may reduce blurriness, but it will also make your photo more grainy.

Generally, DSLR cameras are better than point-and-shoot cameras in low-light situations. This is because they have larger lenses and sensors that can capture more light.
|
15 videos|24 docs
|

 to increase the brightness. Although this will make the photos brighter, it won't actually improve the quality, so it's not really a substitute for more lighting.