Guide to Install and Set up Android Studio

How to Install and Set up Android Studio on Windows?
Last Updated: 16 Nov, 2022Android Studio is the official IDE (Integrated Development Environment) for Android app development, based on JetBrains' IntelliJ IDEA software. It offers many features that boost productivity in building Android apps:
Key Features of Android Studio
- A blended environment for developing on all Android devices:
- Apply Changes feature:
- Flexible Gradle-based build system:
- Feature-rich emulator:
- GitHub and Code template integration:
- Extensive testing tools and frameworks:
- C and NDK support:
- Built-in support for Google Cloud Platform:
- GUI tools for app development:
- Integration with real-time database 'Firebase':
Android Studio provides a unified workspace for creating apps across various Android devices, streamlining the development process.
Allows developers to make code and resource modifications to the running app without the need to restart it, saving time and increasing efficiency.
Utilizes Gradle for building Android apps, offering flexibility and customization in the build process.
Comes with a fast and comprehensive emulator for testing apps on virtual devices, aiding in debugging and performance evaluation.
Integrates with GitHub and provides code templates to facilitate the development of common app features and the importation of sample code.
Offers a wide array of testing tools and frameworks to ensure the quality and reliability of Android applications.
Supports C and NDK (Native Development Kit) programming languages, enabling developers to incorporate native code into their Android apps.
Facilitates seamless integration with Google Cloud services like Google Cloud Messaging and App Engine, simplifying cloud-based app development.
Provides graphical user interface tools that simplify the more monotonous aspects of app creation, enhancing the development experience.
Enables easy integration with Firebase, a real-time database platform, for storing and syncing app data across devices.
System Requirements
- Microsoft Windows compatibility with versions 7, 8, or 10 (both 32-bit and 64-bit supported)
- Minimum requirement of 4 GB RAM, while 8 GB RAM is recommended (an additional 1 GB required for the Android Emulator)
- At least 2 GB of available disk space is necessary, with a recommendation of 4 GB (this includes 500 MB for the IDE and 1.5 GB for the Android SDK and emulator system image)
- A minimum screen resolution of 1280 x 800 for optimal display
Installation Guide
Step 1: Proceed to the specified link to access either the Android Studio executable or zip file.
Step 2: Click on the designated "Download Android Studio" button.
Ensure to select the checkbox confirming agreement with the terms and conditions before initiating the download.
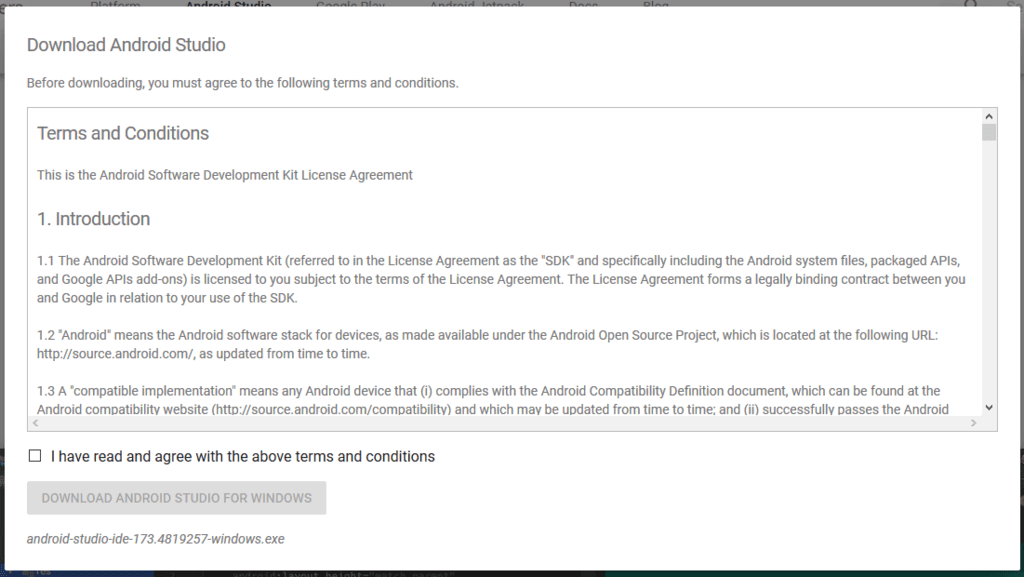
Once prompted, opt to save the file, which will then commence the download process.
Step 3: Upon completion of the download, locate the file in the downloads folder and execute it. This action will prompt a dialog box.
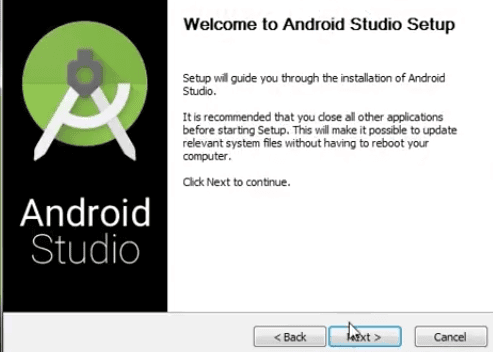
Proceed by selecting 'Next,' followed by specifying an installation path before advancing.
Step 4: The installation will commence, and upon completion, the interface will resemble the provided image.
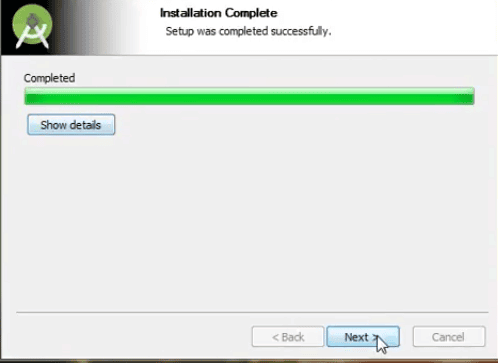
Click on 'Next' to progress.
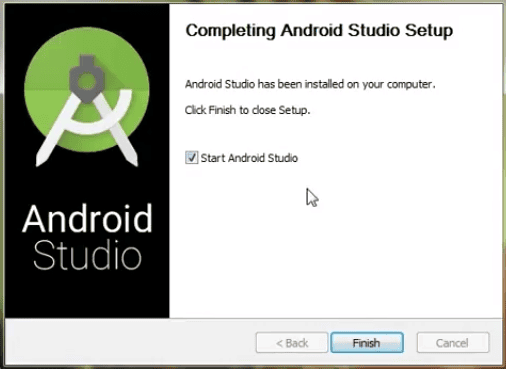
Step 5: After clicking "Finish," a query will arise regarding the importation of previous settings (relevant if Android Studio was previously installed). Opting for 'Don't import Settings' is advisable.

Complete the process by clicking 'OK.'
Step 6: Android Studio will initialize and simultaneously search for available SDK components.

- Setting up Android Studio:
- Step 7: After locating the SDK components, you will be directed to the Welcome dialog box.
- Next: Proceed by selecting 'Standard' and then choosing between the Light theme (IntelliJ) or the Dark theme (Dracula) based on your preference.
- Click on Next: Move forward by selecting your desired theme.
- Step 8: Download the SDK components by clicking on Finish. Wait for the components to finish downloading.
- Android Studio Configuration: The setup is now complete. Click on Finish to launch the Android Studio.
- Step 9: Initiate a new Android Studio project to start building a new app.
- Launching Your First App:
- Starting a New Project: Begin by clicking on 'Start a new Android Studio project'.
- Running Your First App: Refer to the guide 'Running your first Android app in Android Studio' to execute your initial Android application.
