Introduction to MS PowerPoint 2010 | Year 4 Computing IGCSE (Cambridge) - Class 4 PDF Download
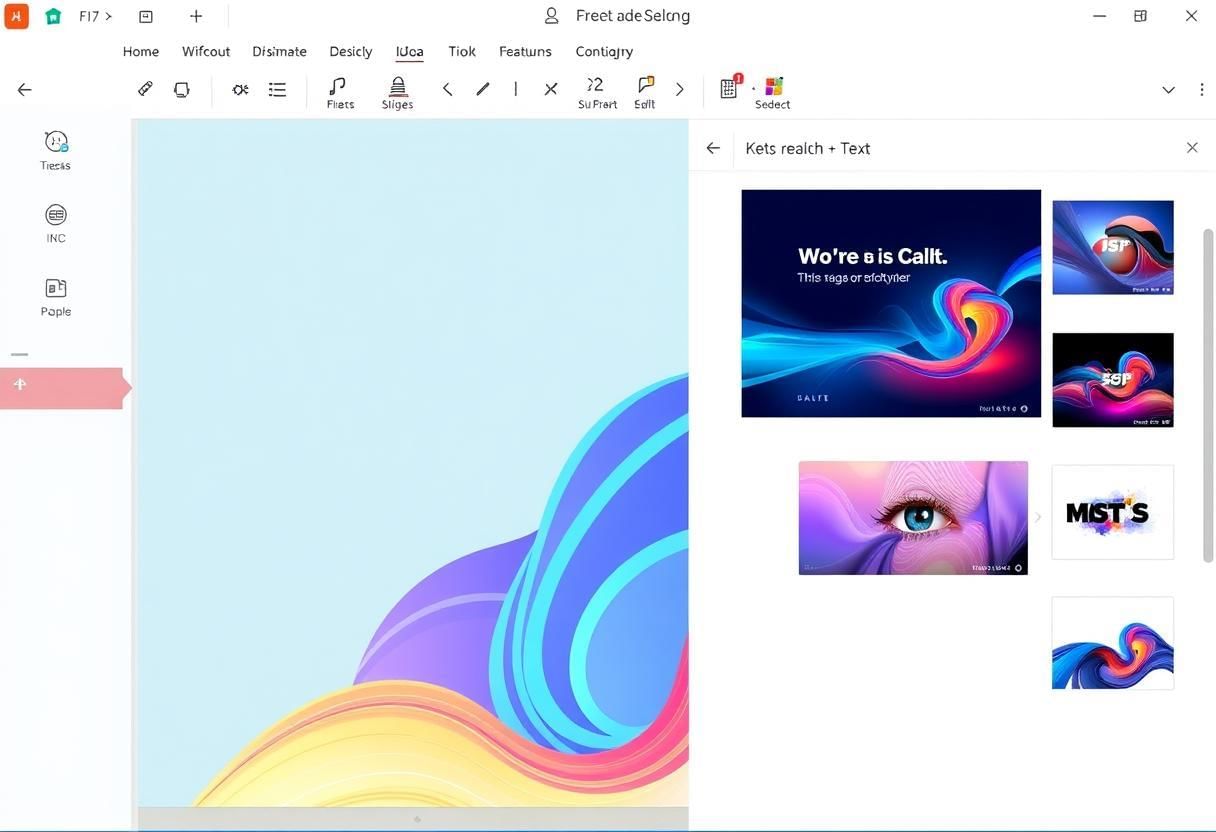
Overview of PowerPoint 2010 Interface
The MS PowerPoint 2010 interface is designed to be user-friendly, providing all the tools you need to create professional presentations. When you open PowerPoint, you will see the following key elements:
- Ribbon: Located at the top of the screen, the ribbon contains tabs (such as Home, Insert, Design) that provide access to different tools and features. Each tab has groups of related commands.
- Slides Pane: On the left, you will see a vertical pane that shows thumbnails of all the slides in your presentation. This makes it easy to navigate and reorder slides.
- Slide Area: The large area in the center is where you create and edit your slides.
- Notes Pane: Located below the slide area, this pane allows you to add notes for each slide. These notes are for reference when presenting.
- Status Bar: At the bottom, the status bar shows information about the presentation, including the current slide number and zoom level.
 User-Friendly Editing
Creating Slides and Slide Layouts
In MS PowerPoint, slides are the individual pages of your presentation. You can create a new slide for each point or section of your presentation. PowerPoint offers various slide layouts, which are pre-designed templates that organize content like text, images, and charts.
Creating a New Slide:
- To create a new slide, click on the Home tab and select New Slide from the Slides group.
- You can also use the shortcut Ctrl + M to insert a new slide.
Choosing Slide Layouts:
PowerPoint offers different slide layouts for various types of content. For example, you can choose layouts for titles, text, images, or even charts. To choose a layout:
- Click on the New Slide button.
- Choose a layout from the dropdown menu, such as "Title Slide," "Title and Content," "Two Content," or "Blank."
- The layout determines where the text and objects will appear on the slide.
Adding Text, Images, and Graphics to Slides
Once you’ve created your slides, you can add content like text, images, and other graphics to make the presentation more engaging. MS PowerPoint makes it easy to insert various types of content.
Adding Text:
- Click inside the text box on the slide where you want to add text.
- Type the text you want to appear. You can change the font, size, color, and alignment using the options in the Font and Paragraph groups on the Home tab.

Adding Images:
- Click on the Insert tab, then click on Pictures in the Images group.
- Select the image file from your computer and click Insert.
- You can resize and move the image by dragging its corners or edges.
Adding Graphics and Shapes:
- Click on the Insert tab, then select Shapes in the Illustrations group.
- Choose from a variety of shapes like rectangles, circles, arrows, and more.
- Click and drag to draw the shape on the slide. You can resize, rotate, and format the shape using the options in the Format tab.
Using Transitions and Animations
Transitions and animations add visual effects to your presentation, making it more dynamic and engaging for the audience.
Using Transitions:
A transition is the effect used when moving from one slide to the next. You can add a transition by following these steps:
- Click on the Transitions tab.
- Select a transition effect from the options available, such as "Fade," "Push," or "Wipe."
- Click Apply To All if you want the same transition to appear for all slides in the presentation.
Using Animations:
Animations control how elements like text, images, and shapes appear on the slide. To add an animation:
- Select the object (e.g., text box, image) you want to animate.
- Click on the Animations tab and choose an animation effect, such as "Appear," "Fly In," or "Zoom."
- You can adjust the timing and effect options to control when and how the animation occurs.

Presenting Slideshows and Adjusting Presentation Settings
Once you’ve finished creating your slides, you can present your slideshow to an audience. MS PowerPoint offers several tools for presenting and adjusting settings during the slideshow.
Starting the Slideshow:
- To start the presentation from the beginning, click on the Slide Show tab and select From Beginning.
- Alternatively, you can press F5 on your keyboard to start the slideshow from the first slide.

Adjusting Presentation Settings:
During the slideshow, you can control how your slides appear and transition:
- Right-click on the slide to access options like "Next," "Previous," or "End Show."
- You can also use the keyboard arrows to navigate through the slides.
Saving and Printing PowerPoint Presentations
After creating your presentation, you can save and print it for future use or to share with others.
Saving a Presentation:
- Click on the File tab, then select Save As to save your presentation to a specific location on your computer.
- Choose the file format (usually .pptx for PowerPoint files) and give your presentation a name.
- Click Save to store the file.

Printing a Presentation:
- Click on the File tab, then select Print to access the printing options.
- Choose the printer, the number of copies, and any other settings, such as printing handouts or notes pages.
- Click Print to print your presentation.
Summary:
In this chapter, we learned how to use MS PowerPoint 2010 to create professional presentations. We explored the interface, created slides with different layouts, and added text, images, and shapes to our slides. We also learned how to use transitions and animations to make the presentation more dynamic, presented the slideshows, and adjusted settings during the presentation. Finally, we covered how to save and print presentations for future use. These skills will help you create effective and visually appealing presentations for various purposes.
|
8 docs|8 tests
|
FAQs on Introduction to MS PowerPoint 2010 - Year 4 Computing IGCSE (Cambridge) - Class 4
| 1. What are the main components of the PowerPoint 2010 interface? |  |
| 2. How do I create a new slide in PowerPoint 2010? |  |
| 3. What types of content can I add to my slides in PowerPoint 2010? |  |
| 4. How can I apply transitions and animations to my slides? |  |
| 5. What are the steps to save and print my PowerPoint presentation? |  |


