MS Word 2010 - Formatting Text | Year 4 Computing IGCSE (Cambridge) - Class 4 PDF Download

Introduction to MS Word 2010
Microsoft Word 2010 is a part of the Microsoft Office suite of programs, designed for creating, editing, formatting, and printing documents. It is commonly used for writing letters, reports, essays, and many other types of documents. MS Word provides a range of tools for formatting text and adding various elements to your documents.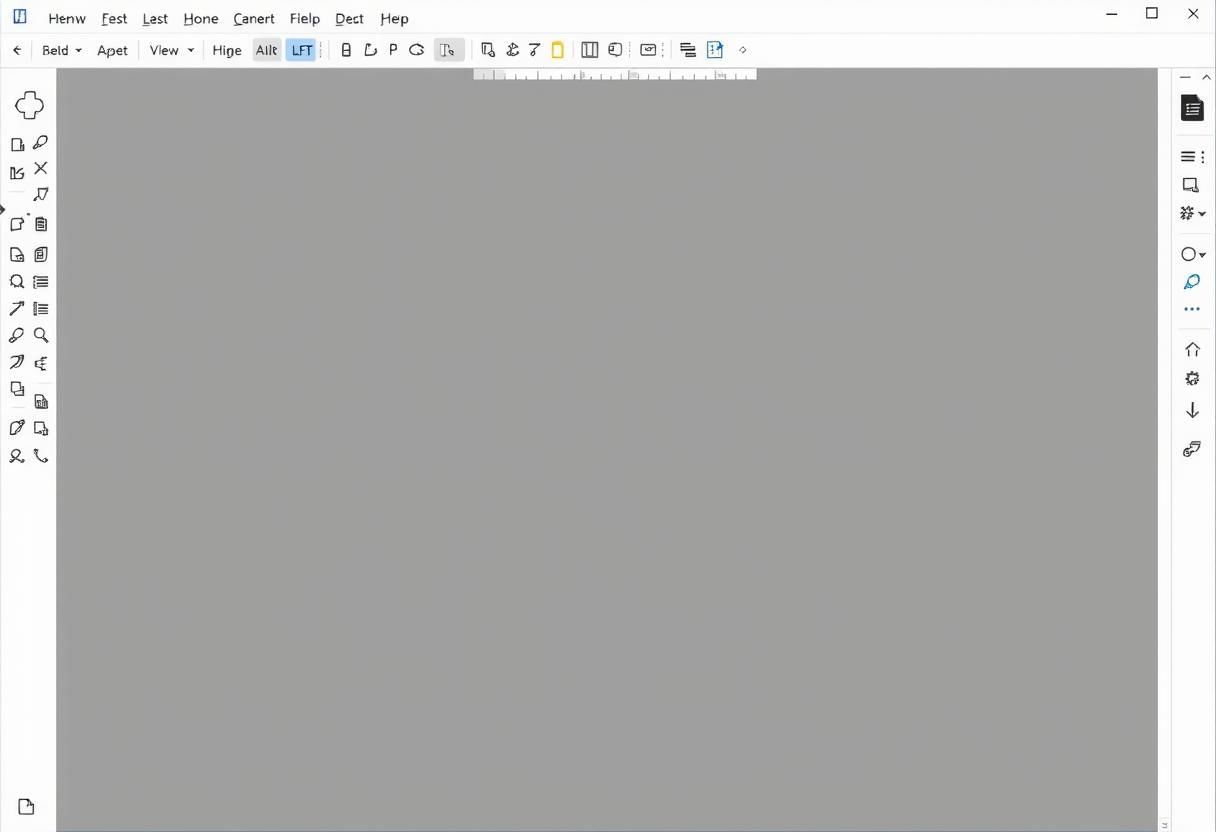 Digital Editing
When you open MS Word 2010, you are greeted with a blank document where you can start typing immediately. The ribbon at the top of the screen provides quick access to a variety of tools for formatting, inserting objects, and managing the document.
Typing and Editing Text
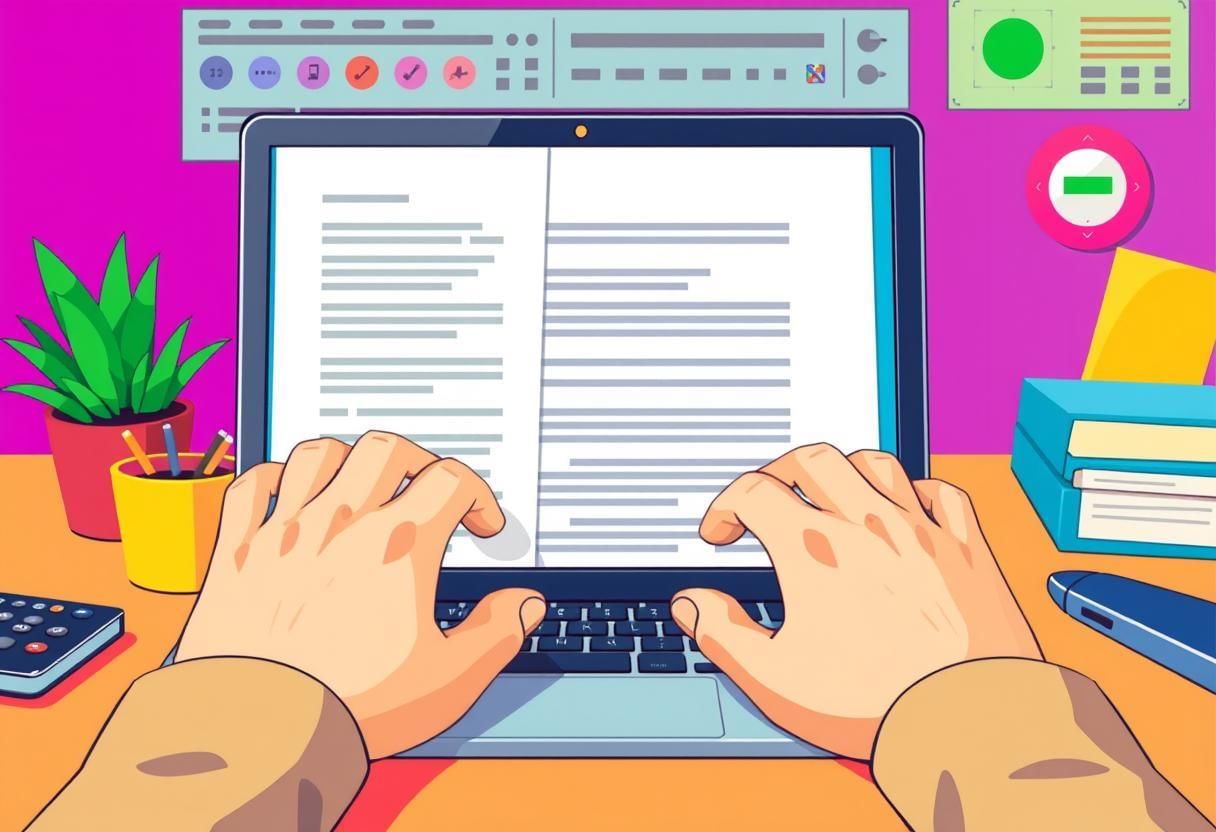
MS Word allows you to easily type and edit text. To type text, simply click into the blank document and start typing. You can edit text by clicking on the area where you want to make changes.
Basic Editing Tools:
- Cut: Removes the selected text or object and stores it in the clipboard.
- Copy: Copies the selected text or object to the clipboard without removing it.
- Paste: Places the content from the clipboard into the document at the cursor’s location.
- Undo: Reverses the last action.
- Redo: Reverses the undo action.
 Creative Editing
Formatting Text: Font, Size, Colour, Bold, Italics, and Underline
MS Word allows you to format the appearance of the text in your document using different styles and settings. Here’s how to apply basic formatting:
- Font: You can change the font style by selecting the text and choosing a font from the drop-down menu in the "Home" tab. Popular fonts include Arial, Times New Roman, and Calibri.
- Size: Change the font size to make your text larger or smaller. You can find the size options in the "Font" group on the Home tab.
- Colour: To change the color of the text, select the text and choose a color from the "Font Color" button in the "Font" group.
 Artistic Typography
 - Bold: To make text bold, highlight the text and click the "Bold" button (B) in the "Font" group or press Ctrl + B on your keyboard.
- Italics: To italicize text, highlight the text and click the "Italic" button (I) or press Ctrl + I.
- Underline: To underline text, highlight the text and click the "Underline" button (U) or press Ctrl + U.
Aligning and Spacing Text
In MS Word, you can align your text to create professional-looking documents. You can align text to the left, center, right, or justify the text (spread it evenly across the page).
Aligning Text:
- Left Align: Aligns text to the left margin. This is the default setting for most documents.
- Center Align: Centers the text in the middle of the page.
- Right Align: Aligns the text to the right margin.
- Justify: Distributes the text evenly across the page, creating a straight edge on both the left and right sides.
Spacing Text:
- Line Spacing: You can adjust the space between lines of text by selecting the "Line and Paragraph Spacing" button in the "Paragraph" group. Common spacing options include 1.0 (single), 1.5, and 2.0 (double).
- Paragraph Spacing: Adjust the space before and after paragraphs. This is useful for making your document more readable and organized.
Using Bullet Points and Numbered Lists
Bullet points and numbered lists are helpful for organizing information clearly and concisely. MS Word makes it easy to create these types of lists.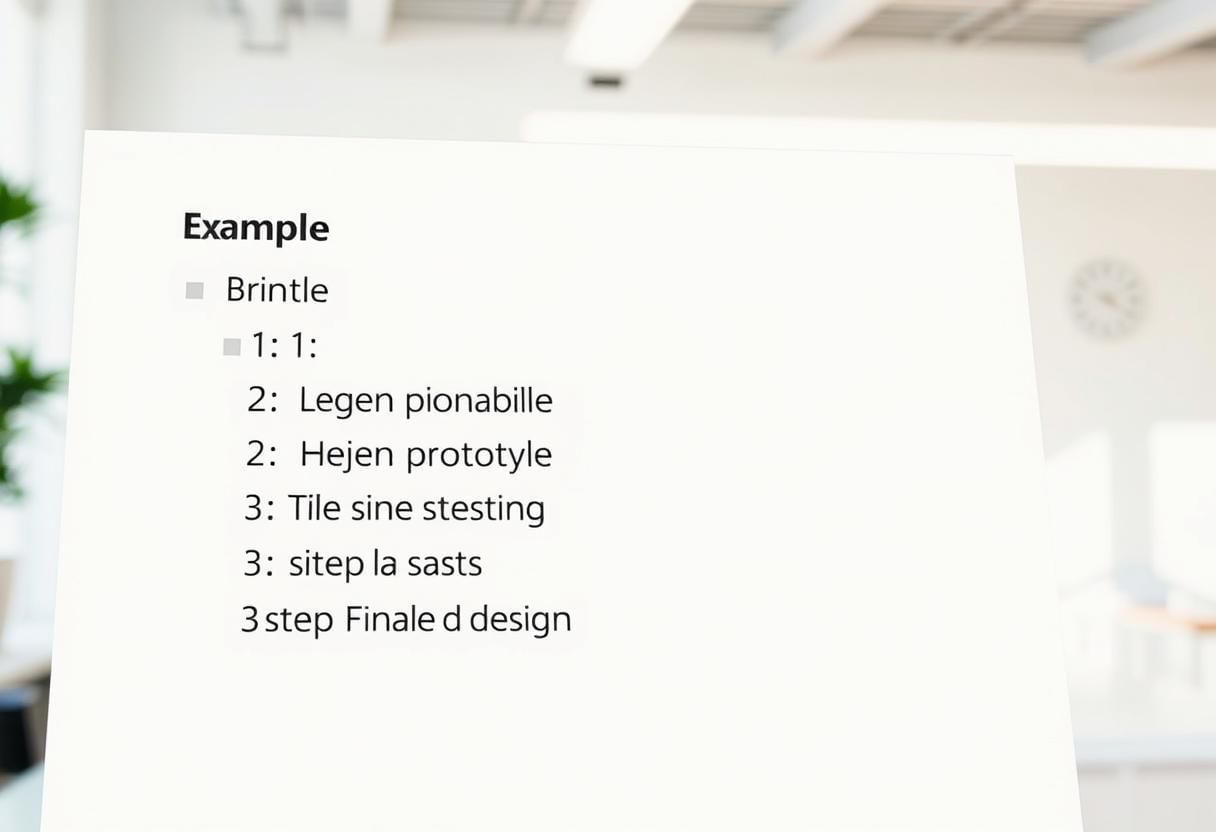
Bullet Points:
- Click the "Bullets" button in the "Paragraph" group on the Home tab to create a bulleted list.
- Each item in the list will be preceded by a bullet (•) to indicate separate points.
Numbered Lists:
- Click the "Numbering" button in the "Paragraph" group to create a numbered list.
- The list will automatically number each item (1, 2, 3, etc.), making it easy to organize steps or ordered information.
Inserting Pictures and Shapes
MS Word allows you to insert pictures and shapes to make your documents more visually appealing. You can add images, clip art, and geometric shapes such as circles, squares, and lines.
Inserting Pictures:
- Click on the "Insert" tab and choose "Pictures" to insert an image from your computer.
- You can resize, crop, and move the image within the document.
Inserting Shapes:
- Click on the "Insert" tab and select "Shapes" to add various shapes to your document.
- You can draw lines, rectangles, circles, and other shapes, and customize them with different colors and styles.
Saving and Printing Documents
Once you have created and formatted your document, you can save and print it for sharing or future use.
Saving Documents:
- To save your document, click on the "File" tab and choose "Save" or "Save As." Select a location on your computer or cloud storage (like OneDrive) to save the document.
- Give your document a name and click "Save."
Printing Documents:
- Click on the "File" tab and select "Print" to access the printing options.
- You can choose the printer, number of copies, and other settings before clicking "Print" to send the document to the printer.
Summary:
In this chapter, we learned how to use MS Word 2010 to create and format text. We covered basic text formatting options like font, size, color, bold, italics, and underline, as well as aligning and spacing text.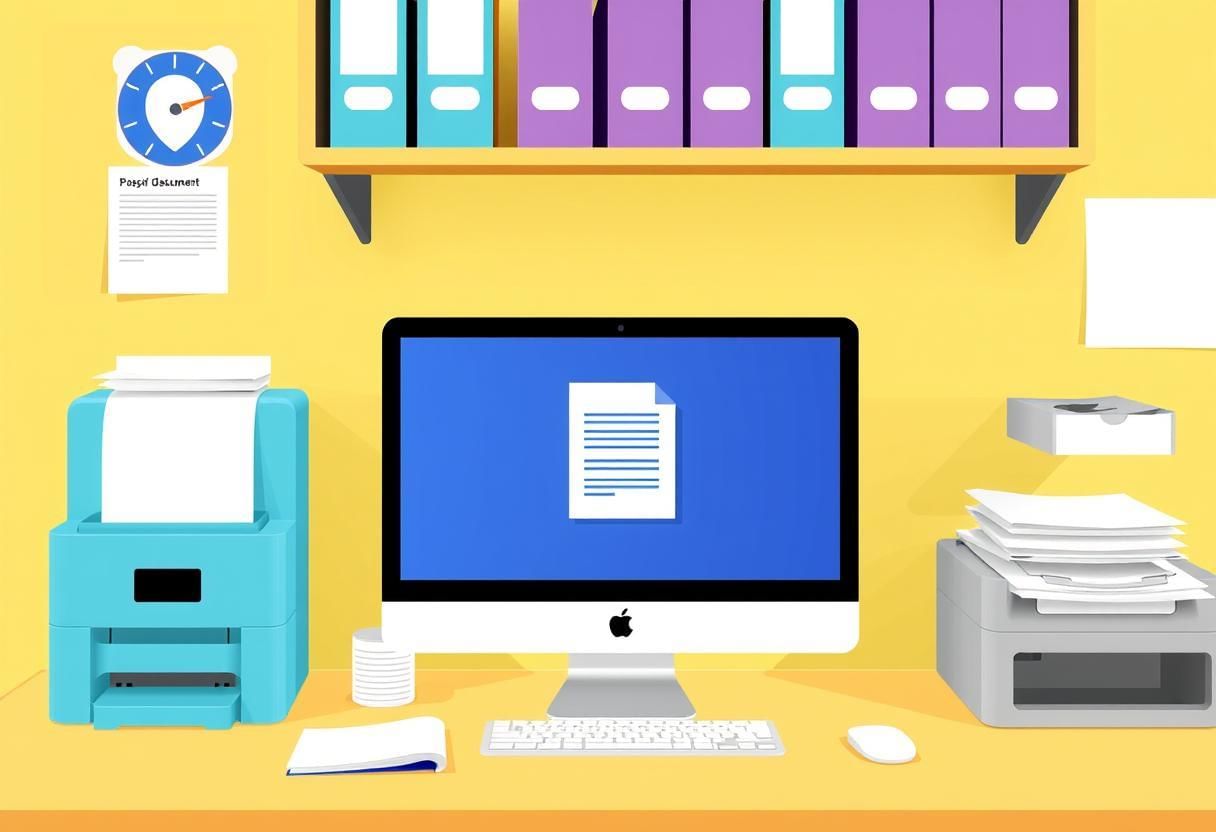 Additionally, we explored using bullet points and numbered lists, inserting pictures and shapes, and saving and printing documents. These skills are essential for creating professional and well-organized documents.
|
8 docs|8 tests
|
FAQs on MS Word 2010 - Formatting Text - Year 4 Computing IGCSE (Cambridge) - Class 4
| 1. How do I change the font style in MS Word 2010? |  |
| 2. What is the process to save a document in MS Word 2010? | |
| 3. How can I insert a picture into my document in MS Word 2010? | |
| 4. How do I create bullet points or numbered lists in MS Word 2010? | |
| 5. What steps do I follow to print a document in MS Word 2010? | |


Sample Paper
,Summary
,Important questions
,past year papers
,shortcuts and tricks
,ppt
,practice quizzes
,Free
,Viva Questions
,Semester Notes
,Objective type Questions
,mock tests for examination
,MCQs
,MS Word 2010 - Formatting Text | Year 4 Computing IGCSE (Cambridge) - Class 4
,MS Word 2010 - Formatting Text | Year 4 Computing IGCSE (Cambridge) - Class 4
,Exam
,Previous Year Questions with Solutions
,video lectures
,MS Word 2010 - Formatting Text | Year 4 Computing IGCSE (Cambridge) - Class 4
,Extra Questions
,study material
,


MS Word 2010 - Formatting Text Free PDF Download
Importance of MS Word 2010 - Formatting Text
MS Word 2010 - Formatting Text Notes
MS Word 2010 - Formatting Text Class 4 Questions
Study MS Word 2010 - Formatting Text on the App
|
© EduRev
|
Education Revolution
|


|


