Introduction to MS Word 2010 | Year 2 Computing IGCSE (Cambridge) - Class 2 PDF Download
| Table of contents |
|
| 1. Creating Documents |
|
| 2. Formatting Text |
|
| 3. Paragraph Alignment |
|
| 4. Lists |
|
| 5. Inserting Images |
|

1. Creating Documents
Starting a new document in MS Word is the first step to creating your content. Here’s how to get started:
Starting a New Document: When you open MS Word 2010, you will see a blank page where you can begin typing immediately. To start a new document, click on the File tab at the top left, and select New. You can choose a blank document or a template from the available options.
Entering Text: Once your new document is open, simply start typing. You can add text, numbers, or symbols just as you would on any other text editor. The text will appear on the page, and you can continue typing as needed. You can also use the Undo button to go back and correct mistakes.
Use the mouse or keyboard shortcuts to navigate through the document and position the cursor where you want to add or edit text.
2. Formatting Text
MS Word offers several options to format text and make it more visually appealing. Here are the key formatting options:
Applying Bold, Italics, and Underline: To emphasize specific text, you can apply formatting such as bold, italics, or underline. These options can be found in the Home tab in the toolbar. Simply highlight the text you want to format and click on the respective button:
- Bold: Makes the text thicker.
- Italics: Slants the text to the right.
- Underline: Adds a line under the text.
Changing Font Styles and Sizes: MS Word allows you to change the font style and size of your text. You can select from a variety of fonts like Arial, Times New Roman, Calibri, and more. To change the font size, click on the drop-down menu next to the font size box in the Home tab and choose the size you prefer.
Experiment with different fonts and sizes to make your document look more polished and professional.
3. Paragraph Alignment
Text alignment is essential for creating well-organized documents. MS Word provides several alignment options for paragraphs:
Aligning Text to the Left: This is the default alignment and is commonly used for most documents. To left-align text, click the Align Left button in the toolbar or use the shortcut Ctrl + L.
Centering Text: Center alignment is often used for titles, headers, or important information. To center your text, click the Center Align button or use the shortcut Ctrl + E.
Aligning Text to the Right: Right alignment is useful for aligning numbers or dates. To right-align text, click the Align Right button or use the shortcut Ctrl + R.
Justifying Paragraphs: Justified text is aligned to both the left and right margins. It is commonly used for body text in formal documents. To justify your text, click the Justify button or use the shortcut Ctrl + J.
Choose the alignment that best suits the purpose of your document.
4. Lists
MS Word makes it easy to create organized lists in your document, whether you want to create a bulleted list or a numbered list:
Creating Bulleted Lists: Bulleted lists are useful for listing items without a particular order. To create a bulleted list, click on the Bullets button in the Home tab. Each time you press Enter, a new bullet point will be added.
Creating Numbered Lists: Numbered lists are used when the order of items is important. To create a numbered list, click on the Numbering button in the Home tab. Each new line will automatically be numbered.
Both list types help organize information in a clear and easy-to-read format.
5. Inserting Images
MS Word allows you to insert images into your document to enhance its visual appeal. You can add pictures from your computer, online images, or clip art.
Inserting Pictures: To insert a picture, go to the Insert tab and click on the Pictures button. You can select an image from your computer or search for online images. Once inserted, the image will appear in the document.
Adjusting Image Size: After inserting an image, you can resize it by clicking and dragging the image’s corners. To maintain the image’s proportions while resizing, hold the Shift key as you drag the corner.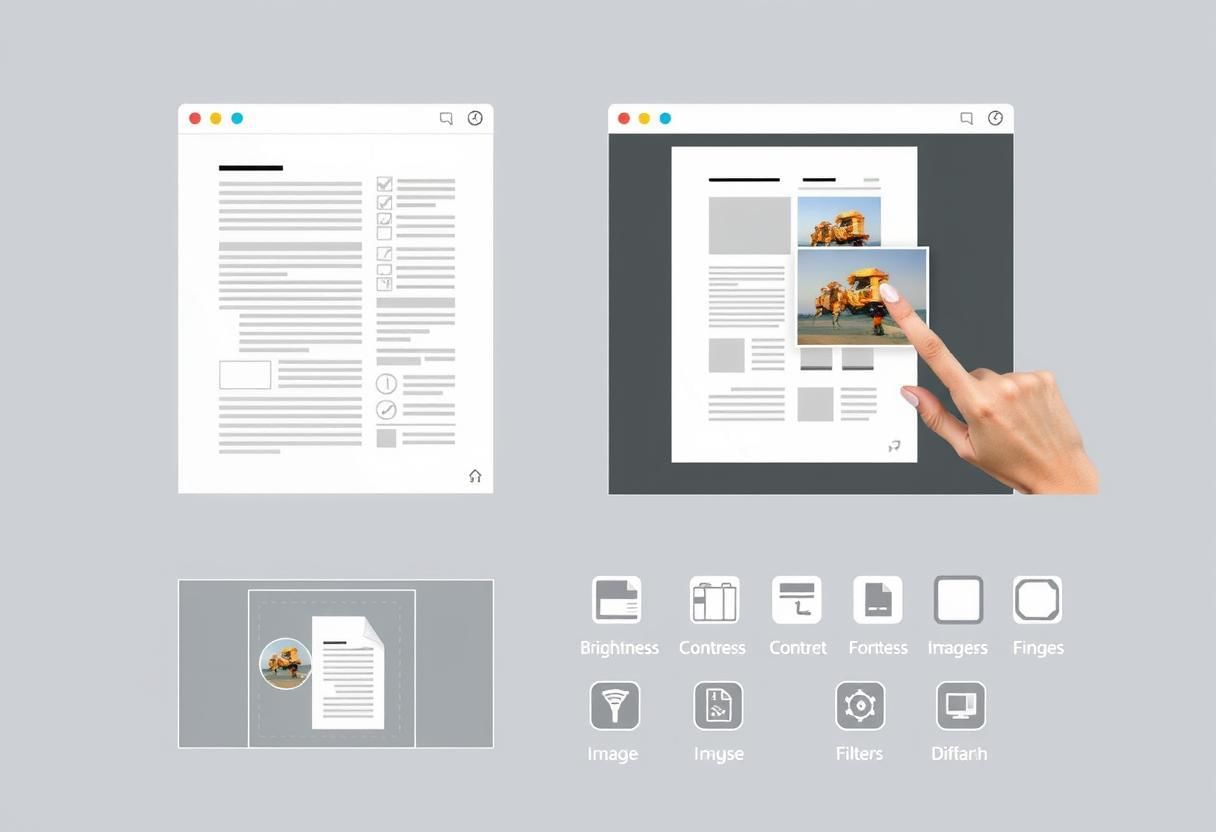
Positioning Images: You can also adjust the position of the image in the document. Right-click the image and select Wrap Text to choose how the text will flow around the image. Options include Square, Tight, Behind Text, and more.
Inserting and adjusting images can make your document more engaging and visually appealing.
|
11 docs|6 tests
|
FAQs on Introduction to MS Word 2010 - Year 2 Computing IGCSE (Cambridge) - Class 2
| 1. How do I create a new document in MS Word 2010? |  |
| 2. What are the steps to format text in MS Word 2010? | |
| 3. How can I align paragraphs in MS Word 2010? | |
| 4. What is the process for creating a list in MS Word 2010? | |
| 5. How do I insert an image into a document in MS Word 2010? | |

Introduction to MS Word 2010 | Year 2 Computing IGCSE (Cambridge) - Class 2
,Sample Paper
,Summary
,ppt
,Introduction to MS Word 2010 | Year 2 Computing IGCSE (Cambridge) - Class 2
,past year papers
,Extra Questions
,MCQs
,Introduction to MS Word 2010 | Year 2 Computing IGCSE (Cambridge) - Class 2
,Important questions
,Exam
,practice quizzes
,mock tests for examination
,Semester Notes
,Objective type Questions
,shortcuts and tricks
,video lectures
,study material
,Viva Questions
,Free
,Previous Year Questions with Solutions
;


Introduction to MS Word 2010 Free PDF Download
Importance of Introduction to MS Word 2010
Introduction to MS Word 2010 Notes
Introduction to MS Word 2010 Class 2 Questions
Study Introduction to MS Word 2010 on the App
|
© EduRev
|
Education Revolution
|


|


within 7 days!