Detailed Notes: Logo (Part - 1) | Computer Science - Class 5 PDF Download
Introduction
- You must have kept dogs and cats as pets in your house, but have you ever had a turtle as your pet? In this chapter you will befriend a clever turtle who will teach you a new language called LOGO.
Logo stands for Logic Oriented Graphic Oriented. You can draw pictures as well as do calculations with LOGO.
- Logo is a highly interactive language that uses a triangle-shaped cursor called a "turtle". Logo's language (also called LOGO) has got words, sentences and texts just like every other language.

- The first version of LOGO, developed by Seymour Papert in the United States, used an electronic robot that resembled a turtle.
Getting Started in Logo
- LOGO is one language that children will enjoy and would love to learn. Perform the following steps to start working in LOGO:
- First of all, LOGO should be installed on your PC.
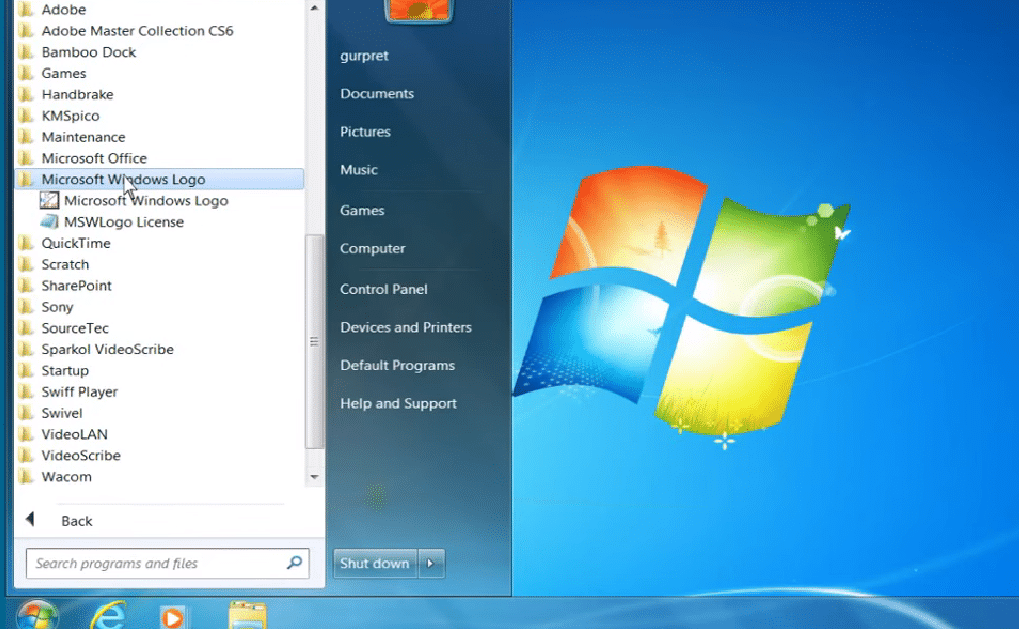
- To start the program, click on Start -> Programs -> PC Logo Program group -> PC Logo (exe)
Commands in Logo
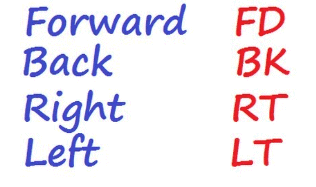
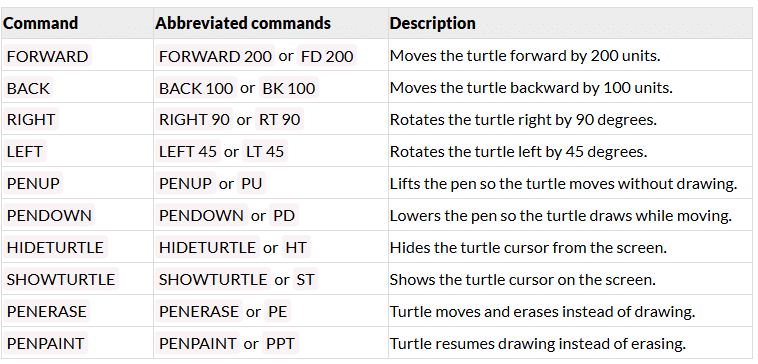
- The simple Logo drawing commands move the turtle forward and backward and turn it right or left.
Basic Commands
Forward or FD
- This moves the turtle forward by a number of steps.
Examples
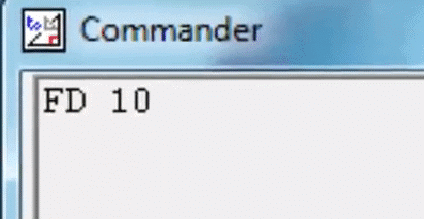
- Forward 10
OR
- FD 10
- When the turtle moves, a line is drawn there.

Back or BK
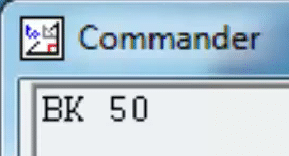
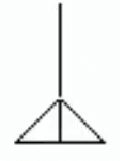
- This moves the turtle backward by a number of steps. (See Figure 5.2.6)
- Back 50
OR
- BK 50
Right or RT
- This rotates the turtle right by a certain number of degrees [0 degrees to 360 degrees] (See Figure 5.2.7)
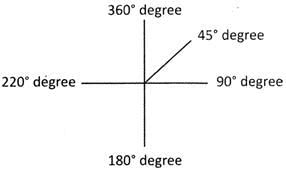
- Right 90
OR
- RT 90


Left or LT
- This rotates the turtle left. You can move the turtle from 0 degrees to 360 degrees.
- Left 90
OR
- LT 90


Hide Turtle or HT
- This will hide the turtle. This means that you will not be able to see the turtle on the screen after issuing this command.
- If you give any command to draw, the turtle will still draw the line. It will continue to work even when it is not visible.
- Hide Turtle
OR
- HT
Show Turtle or ST
- If you want the turtle to be visible again on the screen, then give the Show Turtle command.
- Show Turtle
OR
- ST

Clear Text or CT
- This will clean the text area. Every command that has been written in the text window will be erased.
- Clear Text
OR
- CT
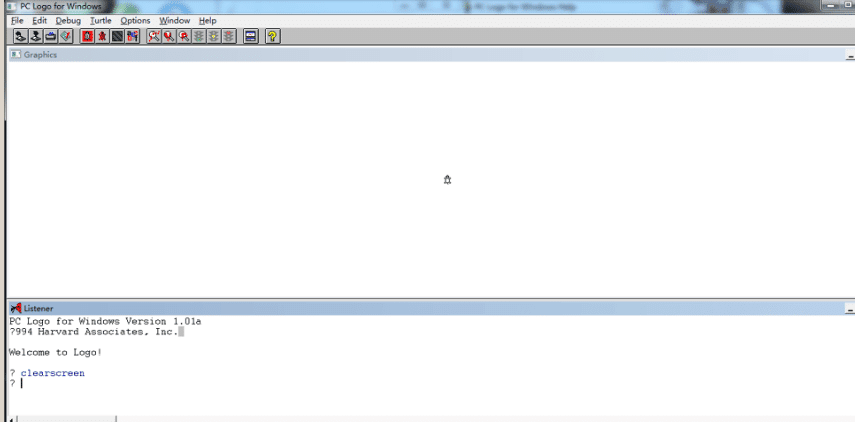
Clear Screen or CS
- This will clean the graphic area; that is, everything drawn there will be erased.
PenUp
- The PenUp command lifts the turtle's pen up from the screen, so when it moves, it does not draw any line. This allows you to reposition the turtle without drawing.
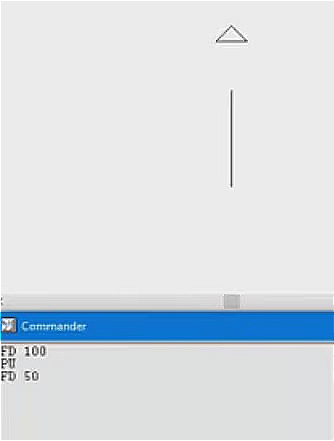
PenDown
- The PenDown command puts the turtle's pen back down on the screen, so when it moves, it draws a line again. This allows resuming drawing after repositioning with PenUp.
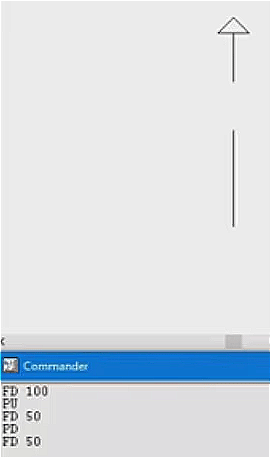
PenErase
- The PenErase command erases any lines drawn and leaves no trace when the turtle moves. It is like lifting the pen up.
PenPaint
- The PenPaint command puts the pen back down to resume drawing lines as the turtle moves. It cancels the effect of PenErase.
Commonly Asked Questions
Q.1. Given below are the statements about LOGO. Select the correct statements.
1. The LOGO screen is divided into three parts.
2. The upper part of the screen where the turtle moves and draws figures is called Graphic Area.
3. The lower part of the screen where we give different commands is the text area.
(A) 1 and 2
(B) 1 and 3
(C) 2 and 3
(D) Only 1
(E) Only 3
Answer: (c)
Explanation
Correct Option:
(C) Statements 2 and 3 are correct about LOGO.
Incorrect Options:
(A) Statement 2 is correct, whereas statement 1 is incorrect. Therefore, option (A) is incorrect.
(B) Statement 3 is correct, whereas statement 1 is incorrect. Therefore, option (B) is incorrect.
(D) Statement 1 is incorrect. Therefore, option (D) is incorrect.
(E) Not only is statement 3 correct, but statement 2 is also correct. Therefore, option (E) is incorrect.
Q.2. Fill in the blanks:
1. The instructions you give to the turtle are called _____.
2. The question mark (?) on the lower part of the screen where we give commands is called _____.
3. A small triangle that appears in the centre of the screen is called ____.
(A) Primitives, Prompt, Turtle
(B) Prompt, Primitives, Triangle
(C) Order, Prompt, Arrow
(D) Primitives, Primitives, Turtle
(E) Prompt, Commands, Triangle
Answer: (a)
Draining Figures Using LOGO
- As discussed before, you can use LOGO to draw different interesting shapes.
- As you type out the commands in the Text window, you can see your figure form in the Graphic window. Some examples are given below:
Straight Vertical Line
- FD 100 <Enter>

Straight Horizontal Line
- RT 90 <Enter>
- FD 100 <Enter>

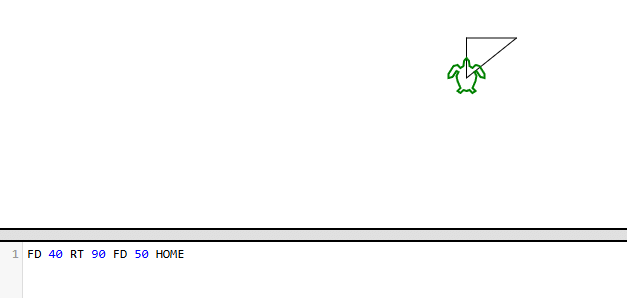
Triangle
- Home <Enter>
- FD 40 RT 90 FD 50 HOME <Enter>
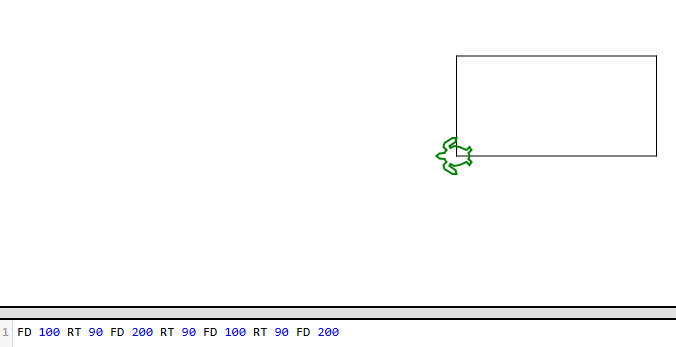
Rectangle
- FD 100 RT 90 FD 200 RT 90 FD 100 RT 90 FD 200 <Enter>
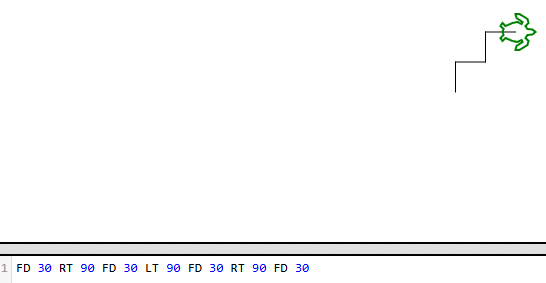
Steps
- FD 30 RT 90 FD 30 LT 90 FD 30 RT 90 FD 30 <Enter>
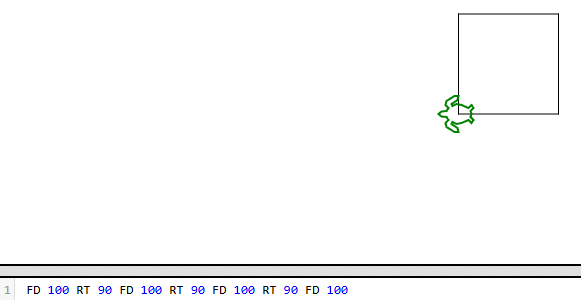
Square
- FD 100 RT 90 FD 100 RT 90 FD 100 RT 90 FD 100 <Enter>
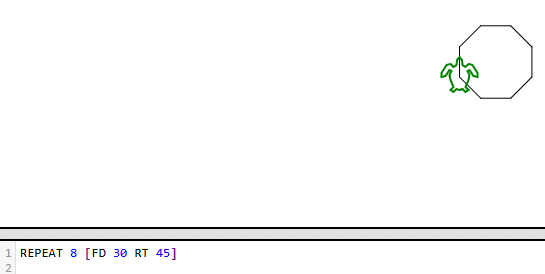
Octagon
- REPEAT 8 [FD 30 RT 45]
- This repeats a forward and 45-degree right turn 8 times to make an octagon.
Commonly Asked Questions
Q.1. Which of the following figures will be formed when the given command is typed at the LOGO prompt?FD 500 RT 90 FD 50 RT 90 FD 50 RT 90 FD 50
(A) Circle
(B) Triangle
(C) Square
(D) Oval
(E) None of these
Answer: (C)
Explanation
Correct option: (C) Square:
The instructions given to the turtle in LOGO
FD 500 RT 90 FD 50 RT 90 FD 50 RT 90 FD 50 <Enter>
will form a square.
Q.2. Which of the following commands is/are used to move the turtle towards the right?
(A) FD
(B) RT
(C) LT
(D) HT
(E) None of these
Answer: (b)
Explanation
Correct option: (B) RT:
Is used to move the turtle towards the right.
|
36 videos|38 docs|27 tests
|
FAQs on Detailed Notes: Logo (Part - 1) - Computer Science - Class 5
| 1. What is LOGO and how is it used for draining figures? |  |
| 2. Can LOGO be used to create complex draining figures? |  |
| 3. What are some common commands used in LOGO for draining figures? |  |
| 4. Can LOGO be used to animate draining figures? |  |
| 5. Are there any resources available for learning LOGO and creating draining figures? |  |


