Class 10 Exam > Class 10 Notes > Craft Ideas: Thanksgiving Napkin Rings & Placecards
Craft Ideas: Thanksgiving Napkin Rings & Placecards - Class 10 PDF Download
Material Required
- 3 cardboard tubes
- Glue stick
- Scissors
- Crayons: peach pink and white
- Orange or red marker
- Black marker
- Construction paper: brown black, white, light blue, yellow, green and red
Directions to be followed
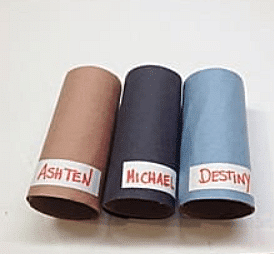
- Using a glue stick, cover one cardboard tube in light blue construction paper, one tube with brown and the third tube with black. Trim excess paper.

- Cut rectangles from white paper, about ½” x 1 ¾”, then write the children’s names on each one with an orange or red marker. Use a glue stick to attach the names to the lower portion of each cardboard tube. Trim the tubes down to about 2” high.
- To make the faces, cut two pieces of white construction paper (2” x 3”), one for the girl and another for the boy. Cut the same size from brown construction paper for the Indian.
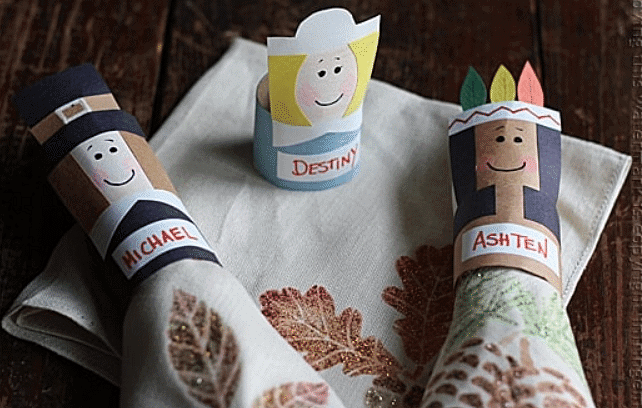
- For the pilgrim girl, cut a triangle from the 2” wide end to create the collar. The pilgrim girl’s hat will take up about ¾” inch from the top. Below that, color the center section of the paper with a peach crayon. Cut strips of yellow paper about ½” wide and glue to both sides of the “face” below the hat section. Using the photo as a guide, cut the top section to make her hat. Use a black marker to add two dots for eyes and draw a simple mouth. Use a pink crayon to color the cheeks.

- For the pilgrim boy, cut the collar as you did for the pilgrim girl. Cut a simple black square and black paper strip for the hat. Cut a small strip from brown paper for the hat band. Glue the hat pieces together and use a white crayon to draw on the hat buckle. Cut two brown strips of paper for the hair and glue to the head after coloring the face area peach. Glue the hat on and draw on eyes and mouth and color cheeks.
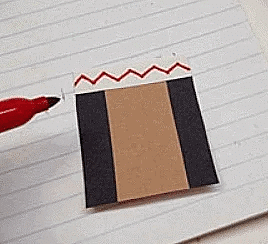
- To create the Indian’s vest, cut a strip of black paper that will wrap almost completely around the brown tube, about ¾” short. Glue it in place. Cut the tube to about 2” in height. Cut two thin black strips of paper and glue them to the sides of the brown rectangle you cut earlier for the Indian. Cut a white strip of paper and glue it across the top for his headband. Trim any excess paper. Use a red marker to draw a pattern across the band. Cut feathers from orange, yellow and green paper and glue to the back of the band. Drawn on facial features and color cheeks. Glue the head to the inside of the tube.

Related Searches


